 This is the last of our DIY series. Have you enjoyed it?
Years ago I was a slave to having my nails done every two weeks at the salon. For over ten years my nail tech and I became best friends. Then I had to have shoulder surgery, and knew that I would not be able to keep up with the nails, so I had her remove them, always thinking that once I recovered from my surgery I would go back to having my nails done every two weeks. I have really horrible looking hands, and they look so much better with long nails. Once they were removed though, my nails were in terrible shape, and I really loved the freedom I found in no longer having artificial nails. I could type faster, text easier, and dip my finger in the bottom of a jar of beauty product and get out the last drop! I never looked back. I just decided I would have ugly hands, but freedom.
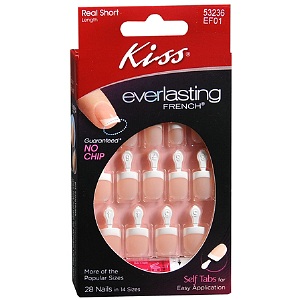
My friend Debbie told me about the Kiss French Manicure Press On Nails. Her daughter Meredith has two small boys and told her mom about them. If they can withstand the treatment of all the work, and washing, and taking care of two small boys, plus a full time job, they must hold up pretty well.
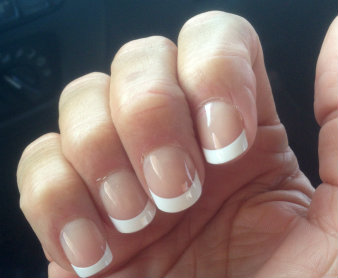
This is Debbie with the nails applied. I would show you the picture of my nails, but her hand is much prettier! Nonetheless, I purchased the Kiss French Manicure Press On Nails in “real short”, per Debbie’s instructions, at my local superstore for $6. They were super easy to apply. The entire process took about 10 minutes. You must first figure out the size of the nail bed for each nail, match that up and then glue on using the tab at the end to hold the nail in place. Once you have the nail placed, you simply snap off the tab, and do a little minor filing around the area where the tab was to smooth it out, and you’re done. The end result looked great. I will give you a little tip if you aren’t used to applying your own press on nails, start with your left hand on your right hand if you are right handed. I did just the opposite and it was a little more difficult to use my right hand to work on my left hand once the nails were already on my right hand. Still, they turned out looking great, and held up great too. I wore them for a week and a half with absolutely no issue at all. They probably would have lasted longer, if I had any skills in reapplying the glue to make the tips stay down, but I just made a mess of it, so I took them off. And. They. Were. Hard. To. Remove. I finally had to get a bowl of Goo Gone and soak them for the nails to release.
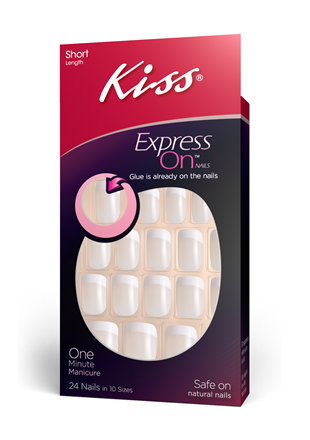
I found another version of these nails at drugstore.com that already has the glue applied to each nail, and next time I place an order with drugstore.com, I will try these.
Will I wear these all the time? No. But will I put these on again if I have a special occasion, absolutely. These looked just as good as if I had gone to the salon and had them done. Except it didn’t cost $45. And I still have enough nails left in my first set to do at least one more manicure, so that makes it at least $3 a manicure instead of $45. Cha-ching!
If you have any DIY products you make please share with me in the comments section!


